Intro
I had a Windows 10 VM, managed using VMWare Workstation Pro 12. The VM was originally created with the default 60GB hard disk.
I needed to expand the disk, so I shutdown the VM, removed all snapshots, expanded the virtual HD to 120GB, and rebooted the VM. The plan was to use Windows 10’s disk management tool to expand the original partition and merge in the new partition.
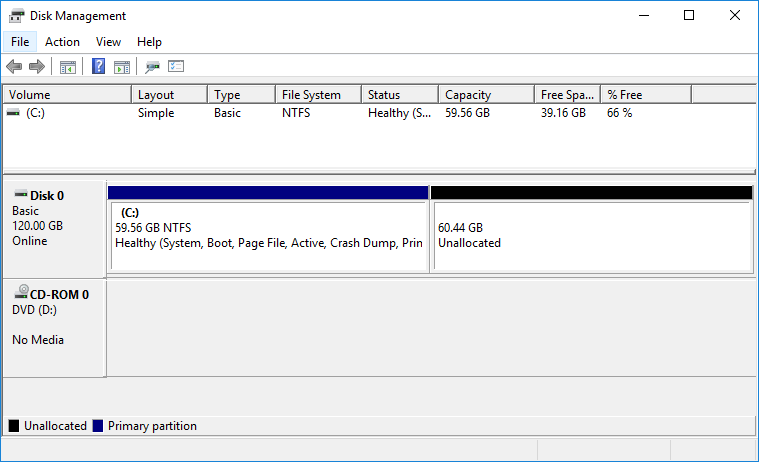
But the recovery partition was sandwiched between the original and new partitions, and couldn’t be deleted using the Disk Management tool:

I found the basics of how to fix this on the VMWare knowledge base. I’m adding my procedure here because it includes some useful screenshots.
Steps
I ran diskpart to work with partitions. (I ran as admin, but don’t think it was required.)

From the DISKPART shell, I then used the following to select and then remove the unwanted partition:
DISKPART> list volume

Volume ### Ltr Label Fs Type Size Status Info
 ---------- --- ----------- ----- ---------- ------- --------- --------
* Volume 0 D DVD-ROM 0 B No Media
 Volume 1 C NTFS Partition 59 GB Healthy System
 Volume 2 NTFS Partition 450 MB Healthy Hidden

DISKPART> select volume 2

Volume 2 is the selected volume.

DISKPART> delete partition override

DiskPart successfully deleted the selected partition.
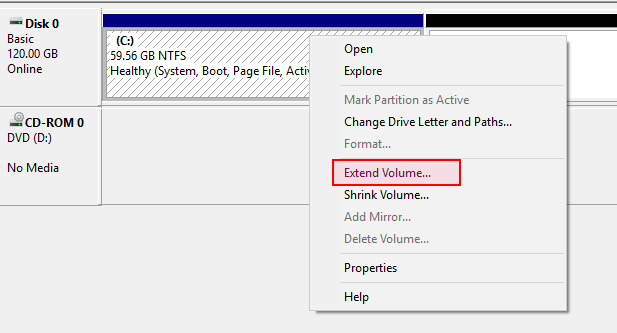
The Disk Management window showed the new partition layout:
Next, I right-clicked on the C: partition and chose ‘Extend Volume’:


At last, a single 120GB partition.

🙂

