Introduction
These are the steps I used to compile OpenCV V4.6.0 from the source code using Visual Studio 2022.
- CMake is used to generate a custom Visual Studio solution
- The latest CMake didn’t work (see below) so I used the previous version
- My end-goal was a set of static libraries that could be used from a C++/CLI project
This workflow assumes that VS2022 is already installed, including at least the C++ workload:

CMake
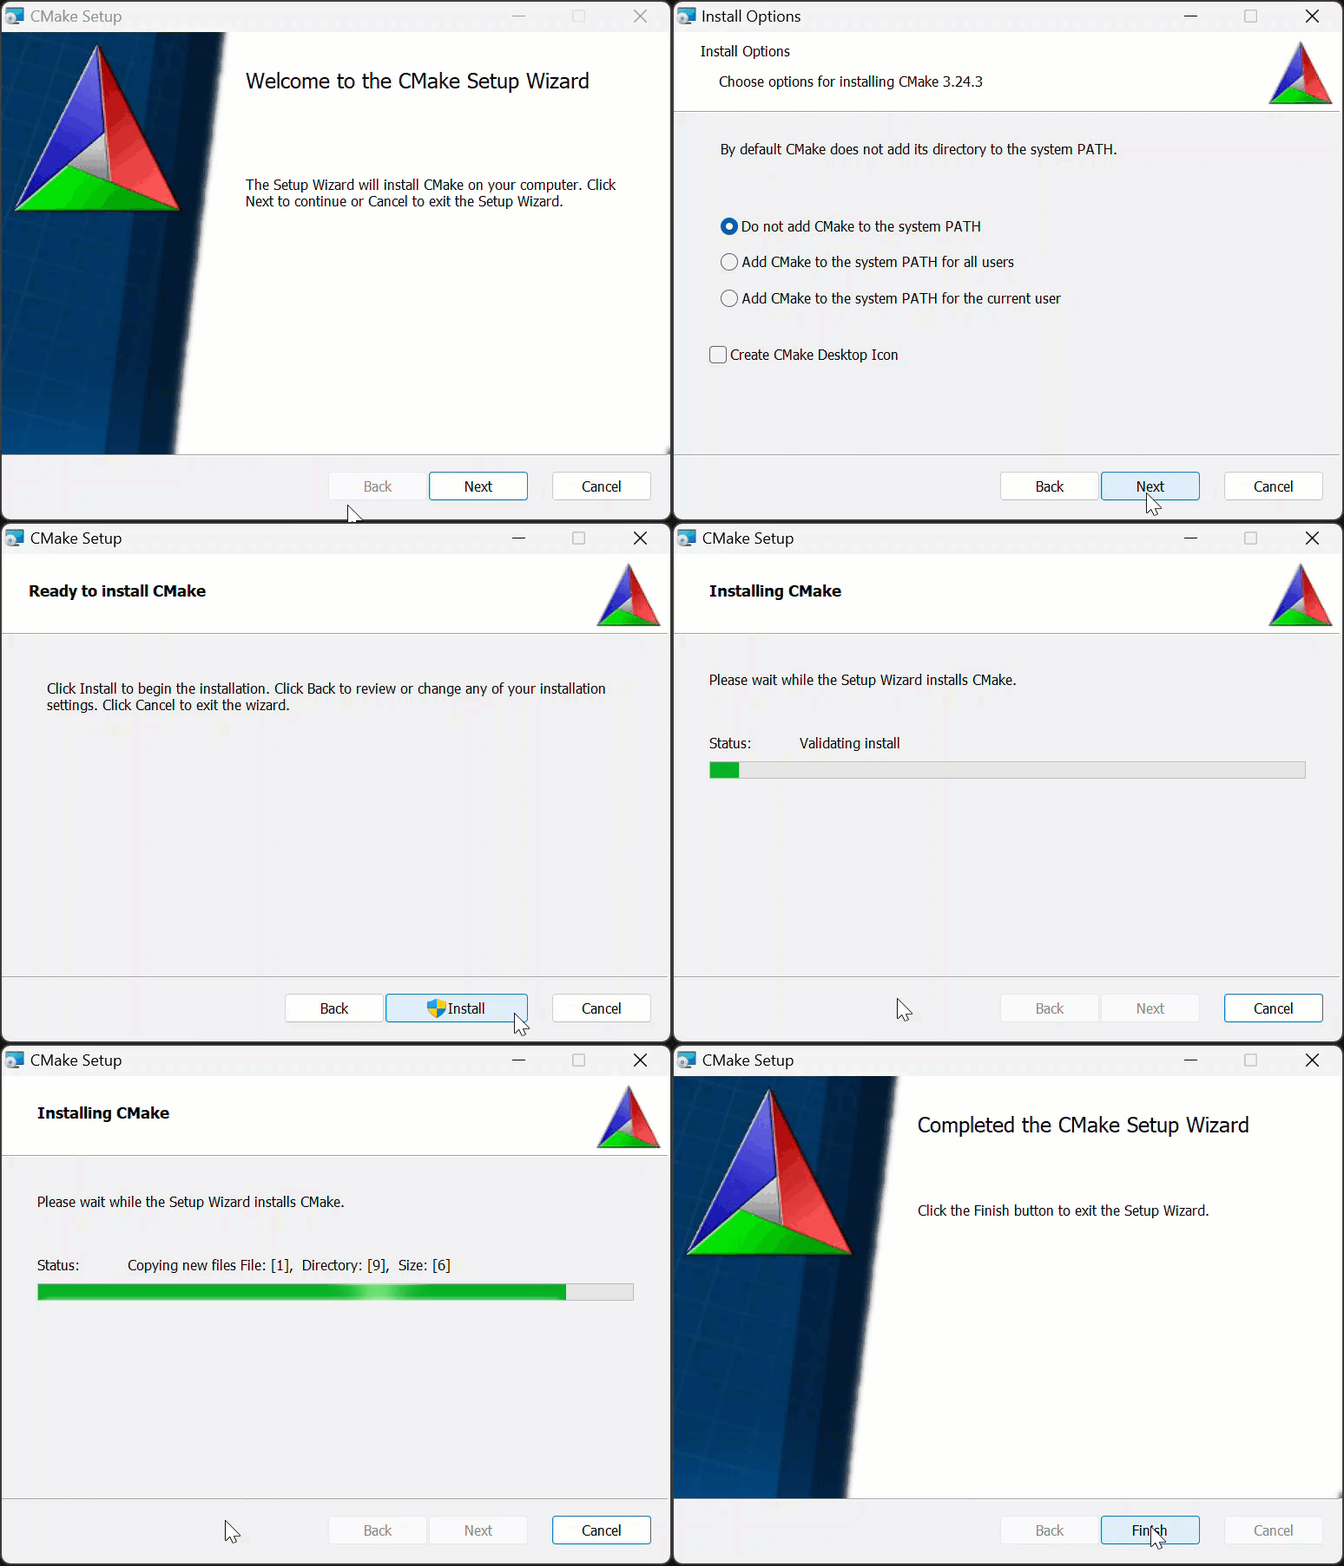
Install CMake V3.24.3. This will be used to generate a custom Visual Studio 2022 solution which can then be used to build the OpenCV libraries.
Note: at the time of writing the latest version of CMake, V3.25.0, has an issue which makes it unusable for generating the OpenCV projects. Other people also talking about this on stackoverflow.
OpenCV source
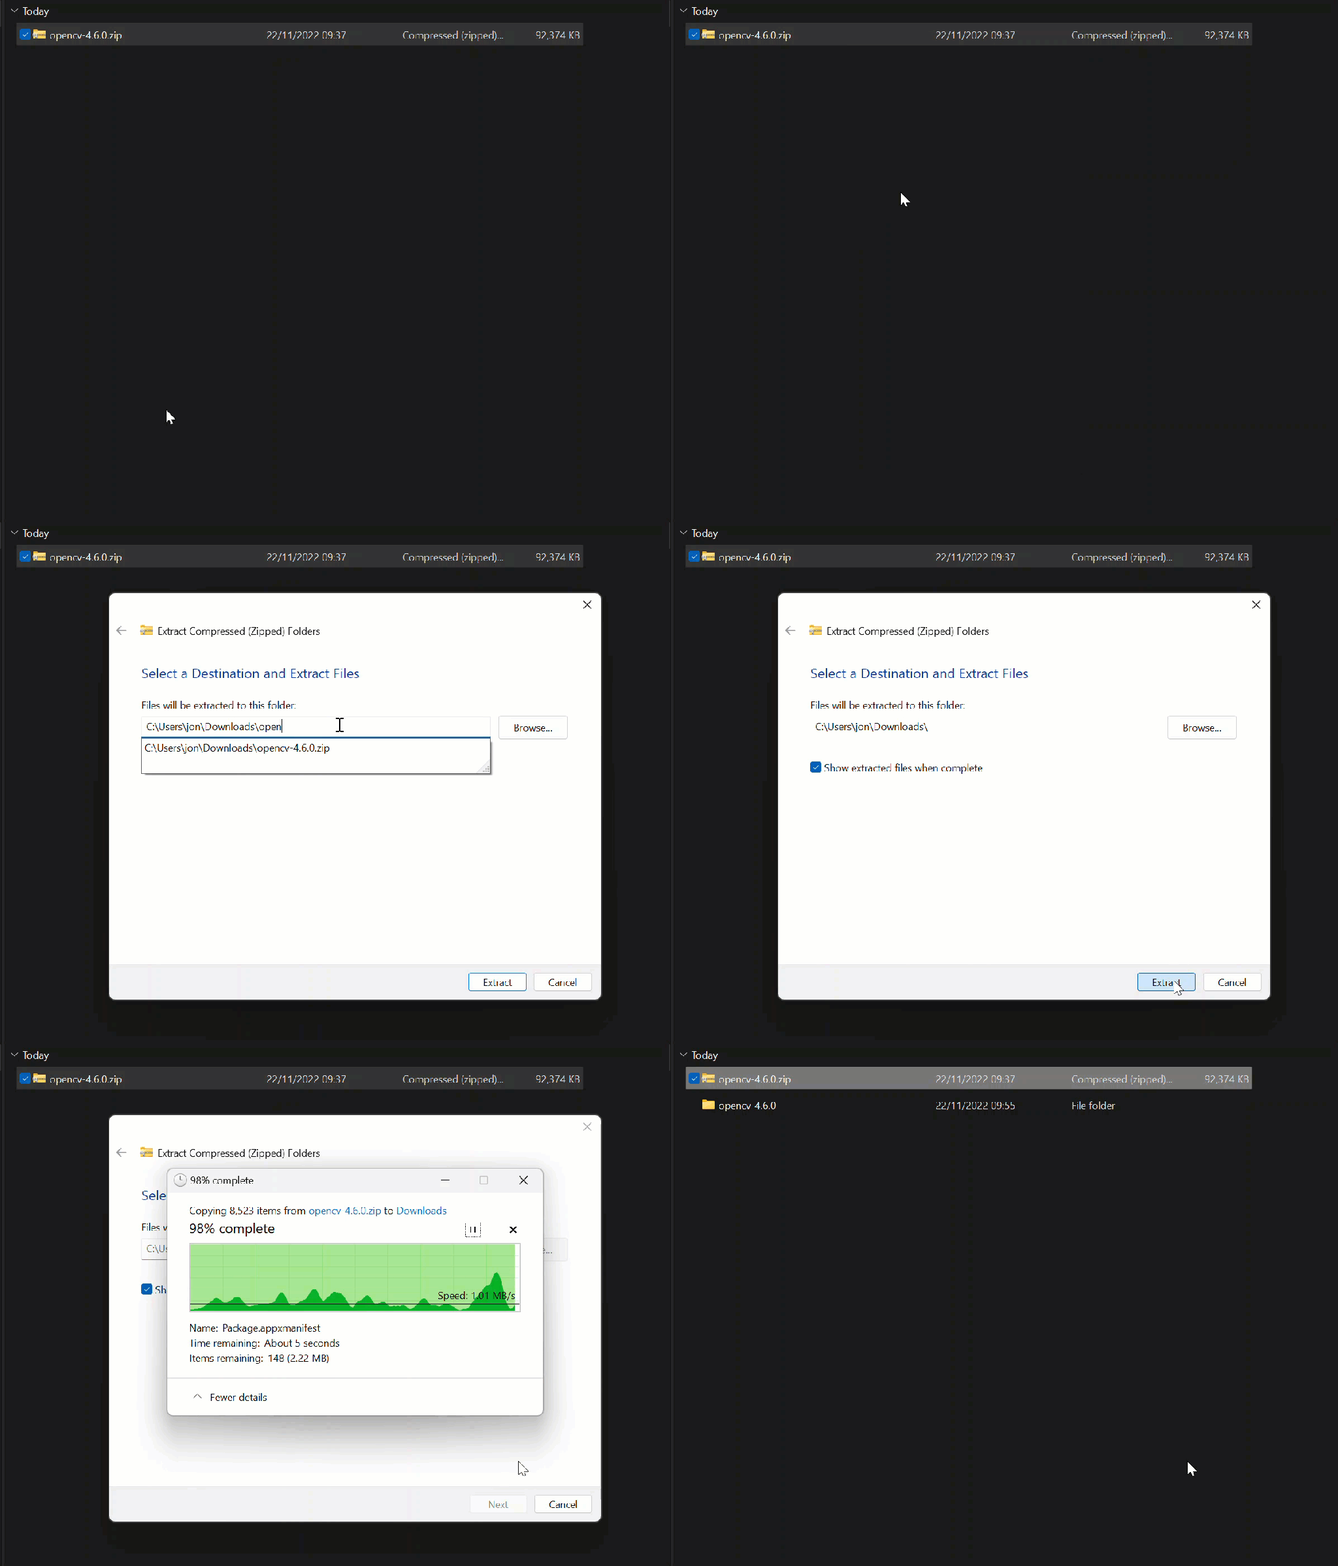
Download the 4.6.0 source from OpenCV Releases:

Extract the files
Generate the VS2022 solution
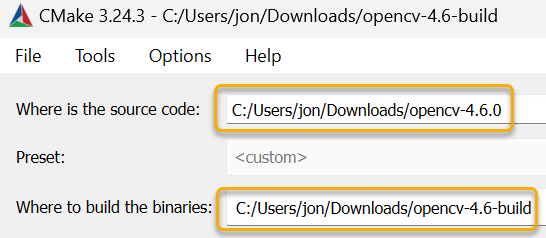
Open CMake, select the Source folder, enter the build folder:
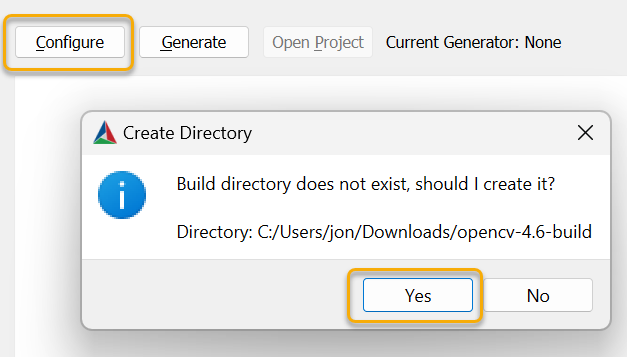
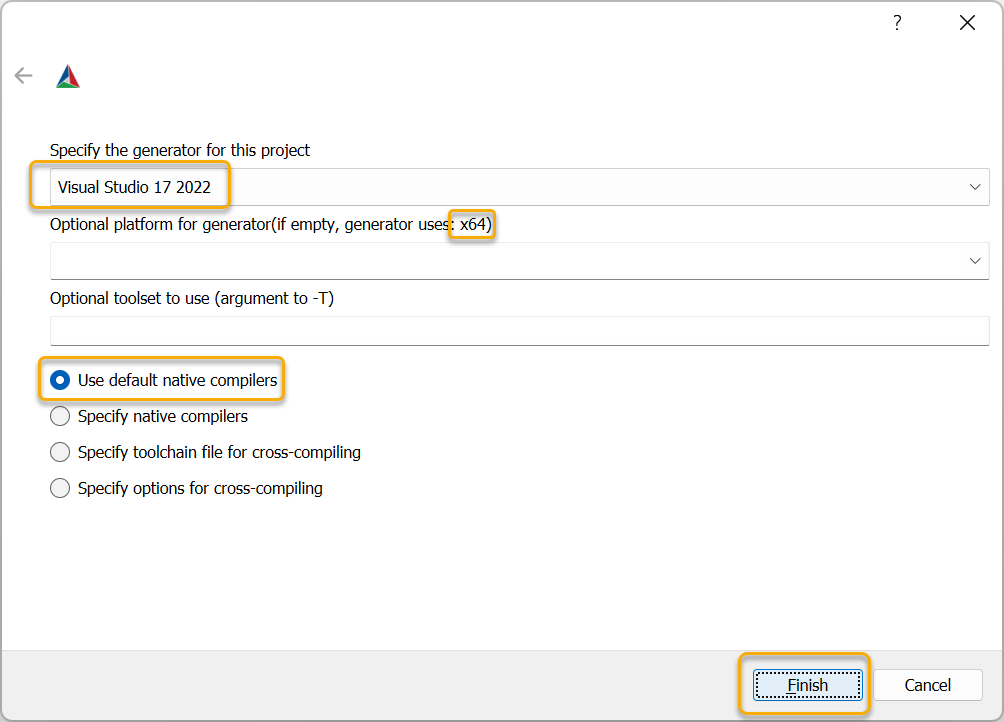
Click Configure and create the build directory if prompted:
The default settings
The configuration process should look like this:
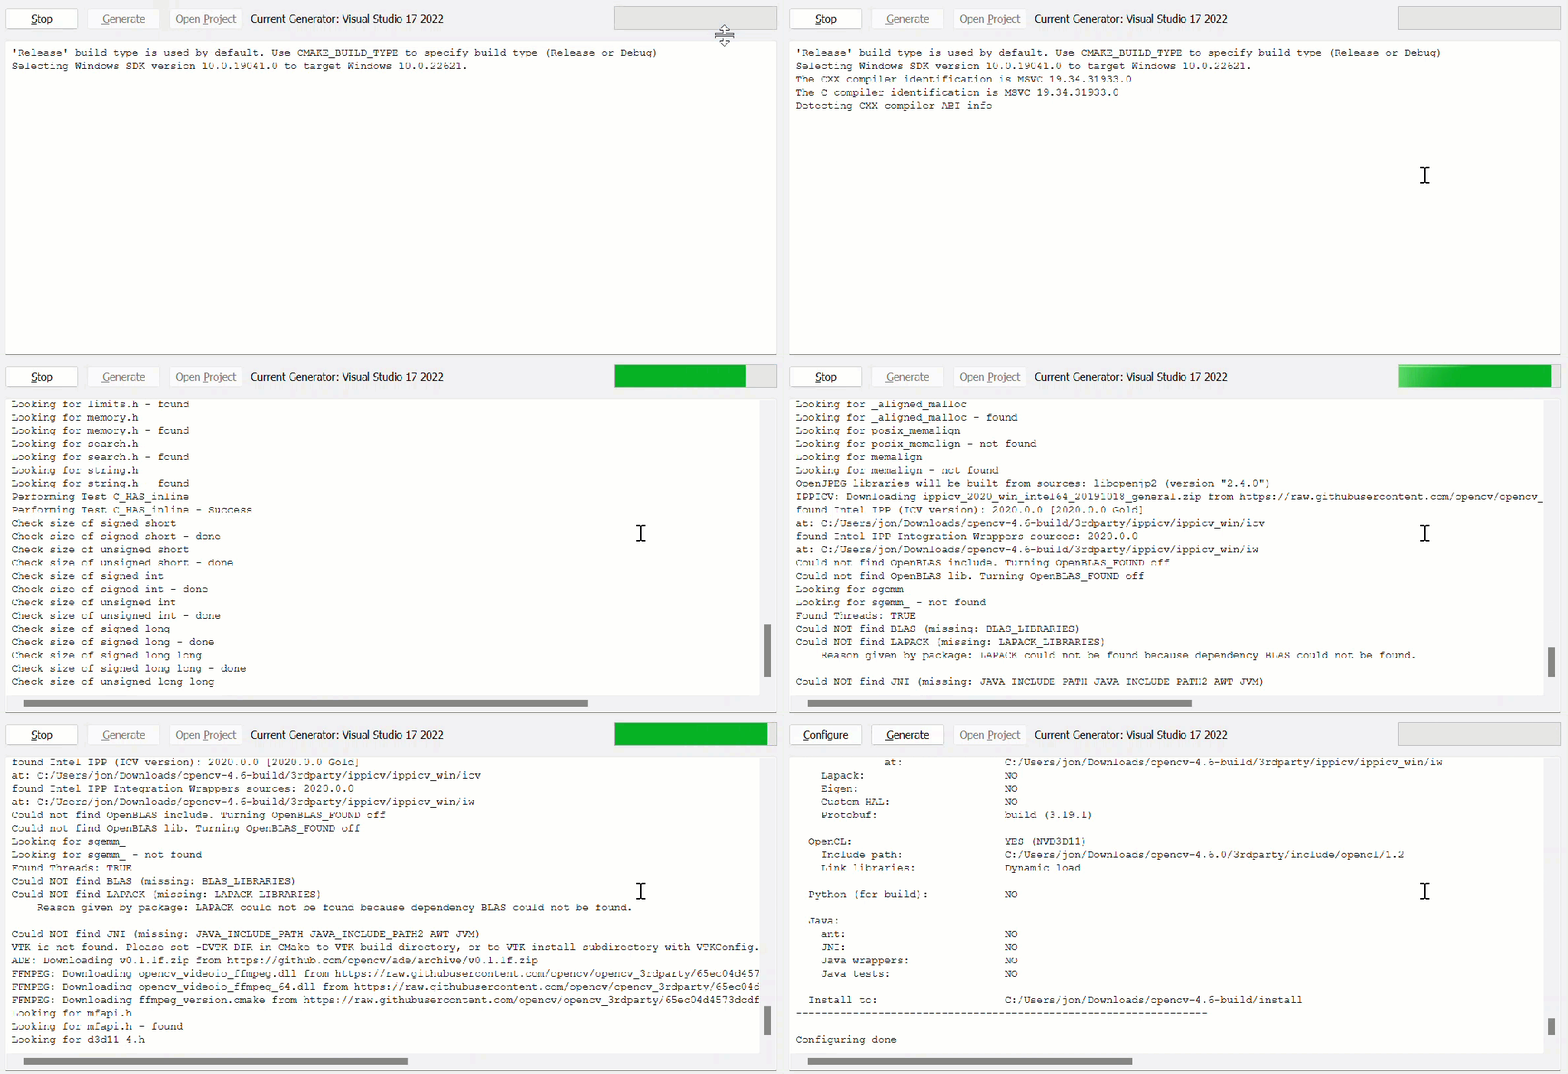
And the main configuration area should look like this:

Next, make any configuration changes. For my environment:
- BUILD_SHARED_LIBS: off
- BUILD_opencv_world: off
- BUILD_PERF_TESTS: off
- BUILD_TESTS: off
- BUILD_WITH_STATIC_CRT: off (important, because my C++/CLI project will use runtime CRT also)
- BUILD_opencv_python_bindings_generator: off
- BUILD_opencv_python_tests: off
- OPENCV_IPP_GAUSSIAN_BLUR: on
Click Generate to make the VS2022 solution:

Open the solution in VS2022 by clicking Open Project:

Build OpenCV
Select the Debug|x64 configuration and build the solution. The end of the build should look similar to this:
========== Build: 42 succeeded, 0 failed, 0 up-to-date, 11 skipped ==========
========== Elapsed 04:28.202 ==========
A second build procedure is required to generate the OpenCV distribution, required by any apps that want to use OpenCV. Expand the CMakeTargets folder in the solution explorer and build the INSTALL project.
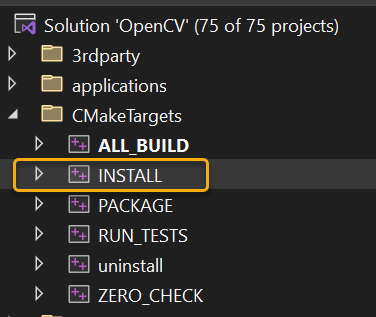
This should produce output similar to:
========== Build: 1 succeeded, 0 failed, 56 up-to-date, 0 skipped ==========
========== Elapsed 00:06.970 ==========
In Windows Explorer you should now have a [new] Install folder:
- \Downloads\opencv-4.6-build\install
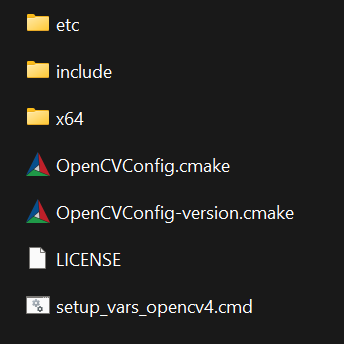
This should include all the key headers and static library files required for building a C++/CLI or similar application or library.
Generate the release files by repeating the above procedure (using the Release|x64 configuration).
Final note
I’ve never, once, managed to just grab OpenCV source, configure and build, and then consume, without many hours of hacking about trying to figure why something doesn’t compile.
Using the OpenCV_World option can be worth a try if there are problems – this library (or DLL) contains most of the libraries packed into a single library.
Good luck 🙂